Step-By-Step Process Of Setting Up A New Water Purification System
Clean, safe water isn’t just something nice to have—it’s something every home should have. From cooking to drinking and everything in between, the quality of the water flowing through your taps matters more than most people think. In a place like Park City, where homeowners care about long-term solutions and home efficiency, setting up a water purification system is a smart move. You don’t want to guess what’s in your water, and a reliable system removes that guesswork.
If you’ve just gotten a new purification system or are preparing for one to be installed, it helps to understand what’s involved. This article walks through what to expect, how to prepare, and how to ensure your setup works the way it’s supposed to. Whether you're curious, cautious, or looking to learn before taking the next step, this guide helps make the process feel clear and manageable.
Getting Started: Preparing for Installation
Before the actual install begins, it’s worth spending a little time making sure everything is ready. That small bit of prep can save hours later on and help the system perform better from the start. Having the right tools on hand and checking the location can make a noticeable difference.
Here’s what you’ll want nearby for most water purification system installations:
- Drill with matching drill bits
- Adjustable wrench or slip-joint pliers
- Teflon tape for leak prevention
- Bucket or tray for catching water
- Towels or rags for quick cleanup
- Standard screwdrivers
- Flashlight or headlamp if lighting is poor
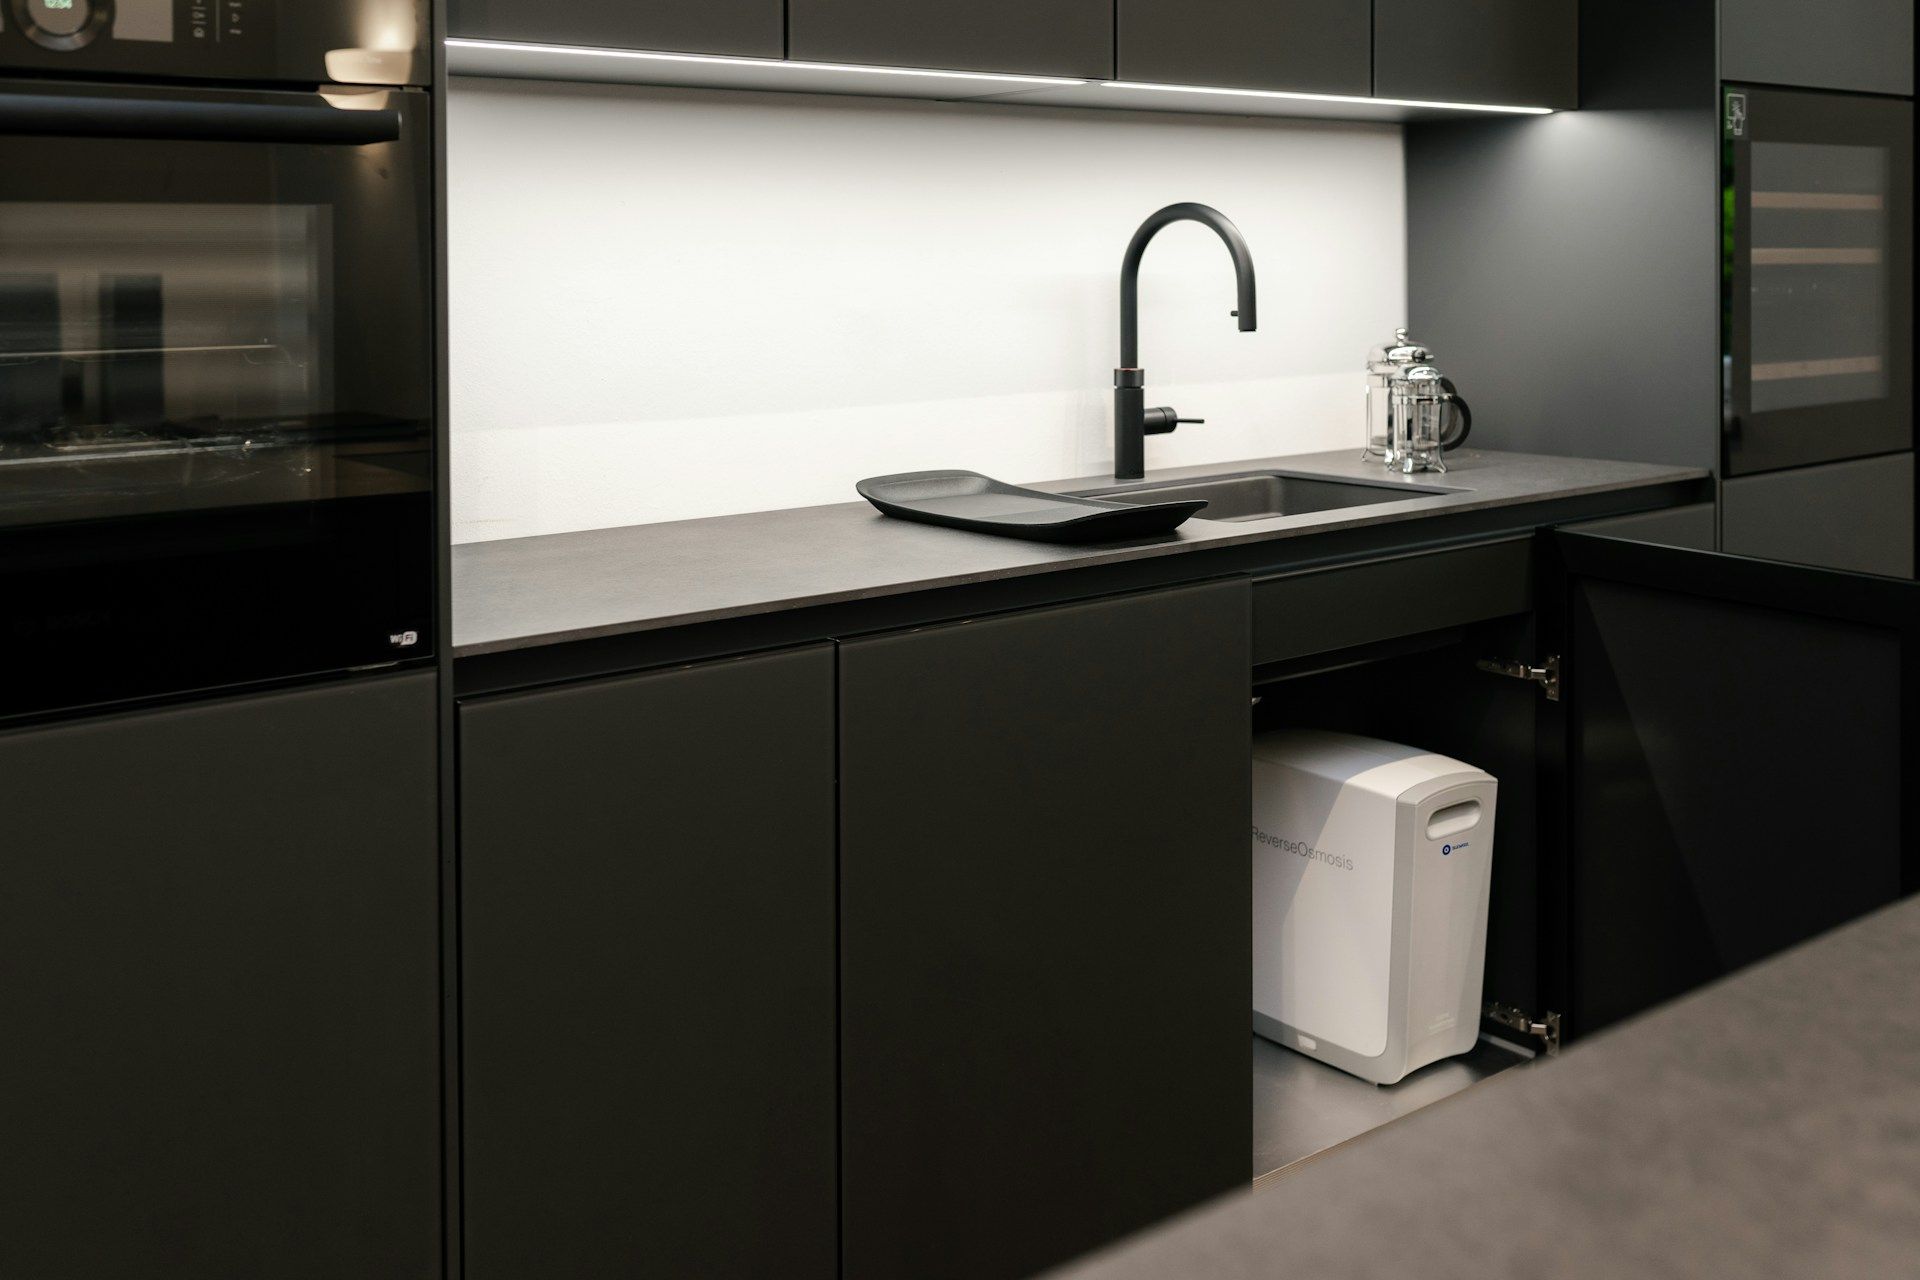
Choosing the right location matters too. Most systems go under the kitchen sink or in a basement area near the main water line. Pick a spot that offers some space around the unit and makes future maintenance easy. If your system needs power, make sure there’s an outlet nearby.
One common mistake is skipping over the instruction manual. Every brand has slight differences, and many include helpful tips specific to your unit. Setup directions aren't always the same, and the manufacturer may note safety steps like how to shut off the water before starting or how far to install the system from other appliances.
Also, look for signs of moisture, mold, or damage near your chosen area before starting. Fixing any of that now avoids bigger problems down the road. A clean, dry space gives you a reliable foundation. Think of it like laying out your tools before fixing something—fewer surprises means everything goes smoother.
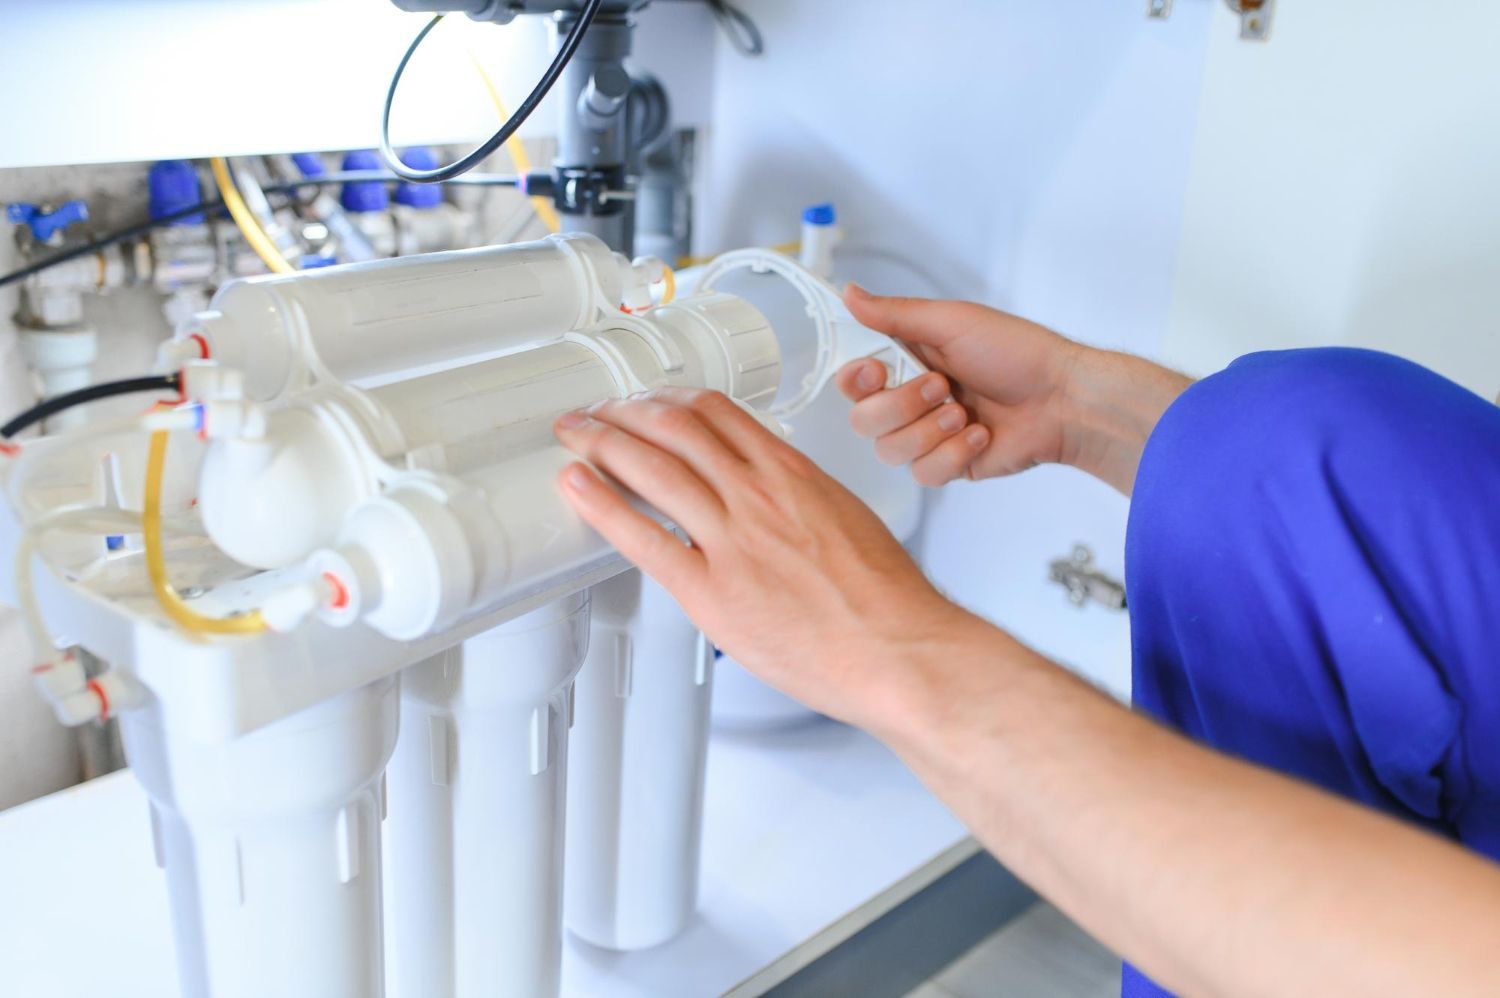
Step-by-Step Installation Process
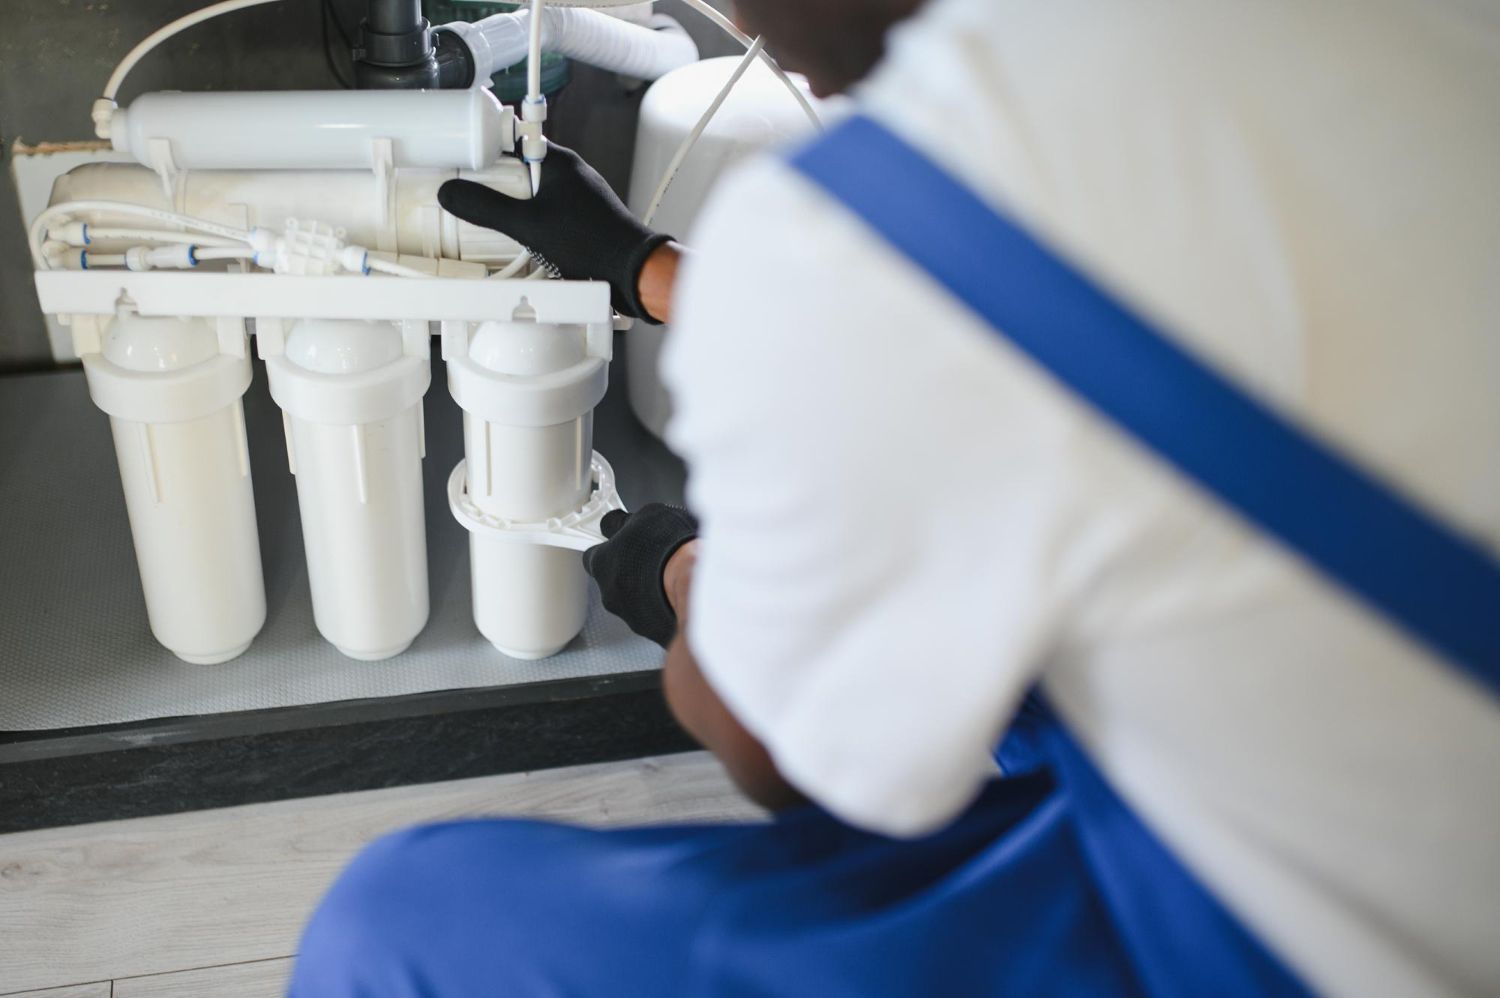
Once you’ve picked your location and gathered your tools, it’s time to start the setup process. It helps to follow the steps in order so you don’t miss anything important. Here’s how most water purification systems are put together:
1. Unbox and inspect
Take all components out of the box and lay them out. Make sure nothing is missing or damaged. This usually includes hoses, connectors, filters, mounting brackets, and possibly an electrical cord. Don’t move forward until everything checks out.
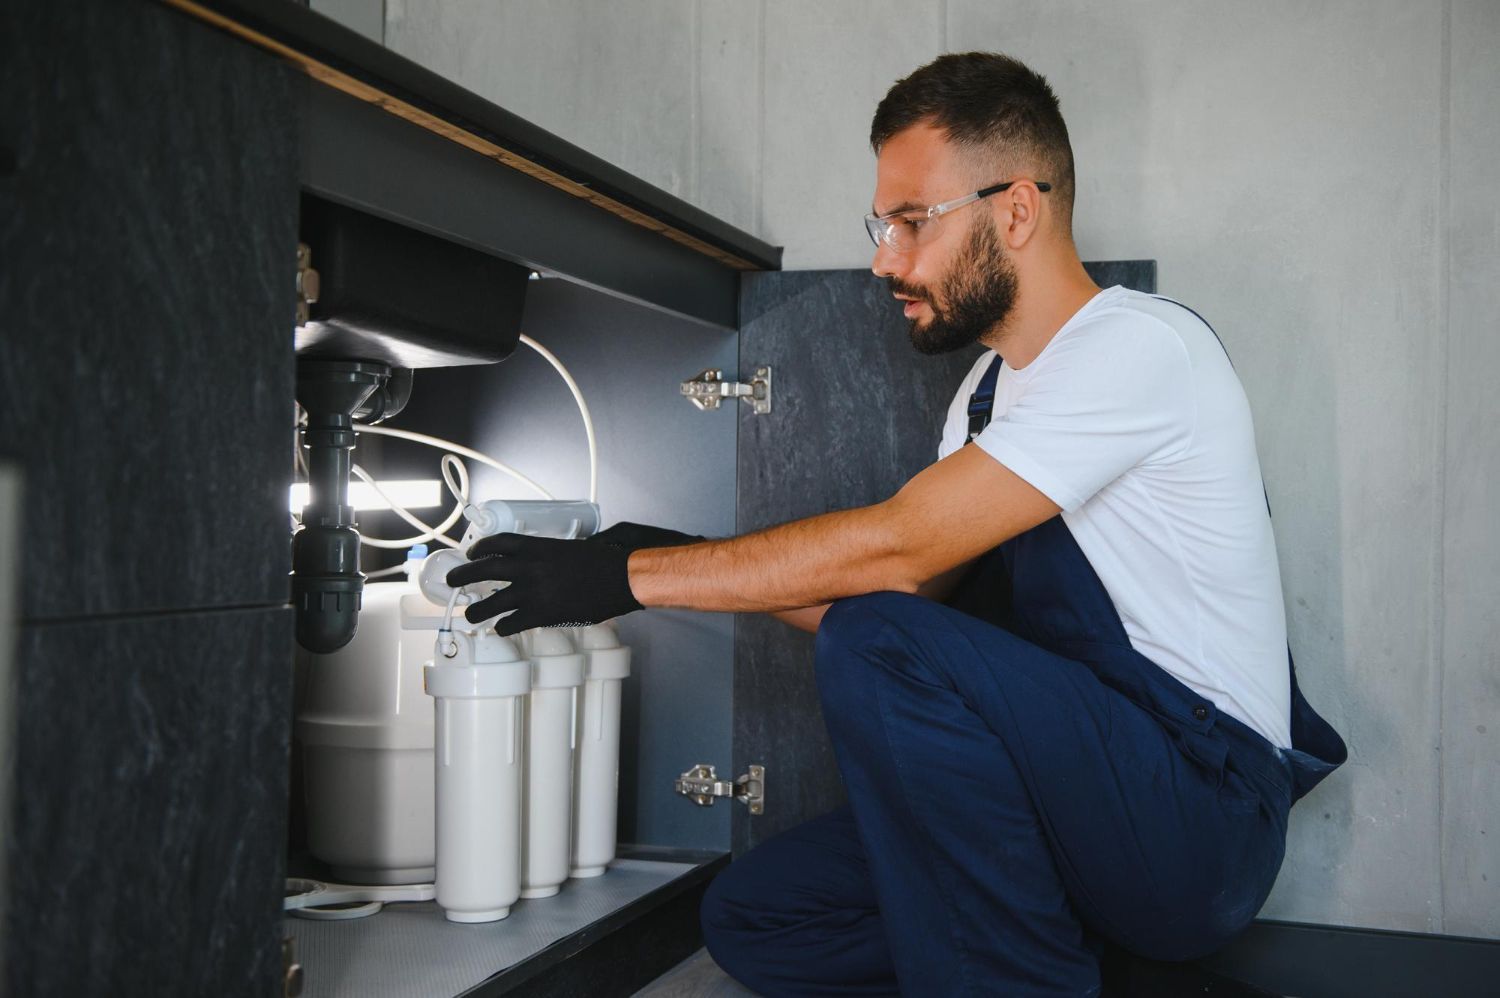
2. Secure the main unit
Place the unit in the location you’ve chosen. If it mounts under a sink, use the included hardware and a drill to attach it to the cabinet wall or another stable surface. Leave a little room around it to allow air circulation and for easy access to the filters.
3. Connect the water lines
Attach the inlet hose to the cold water line first. Then connect the outlet where the filtered water will flow out. Use Teflon tape on any threaded pipe sections to help create a watertight seal. Don’t crank the connectors too tight, but make sure they’re snug.
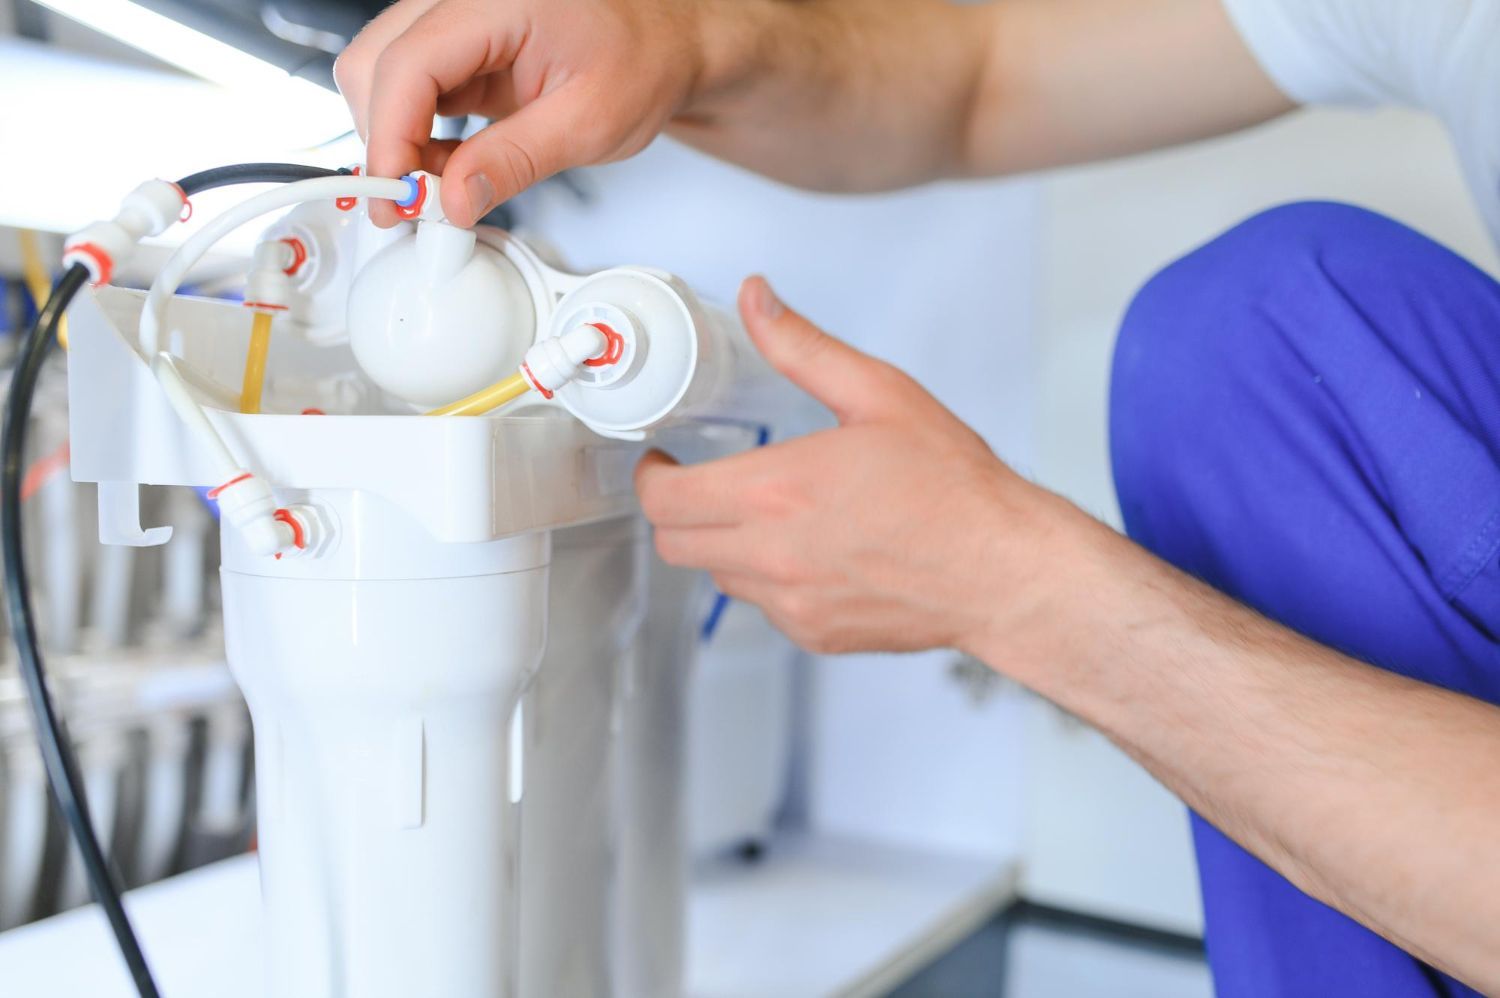
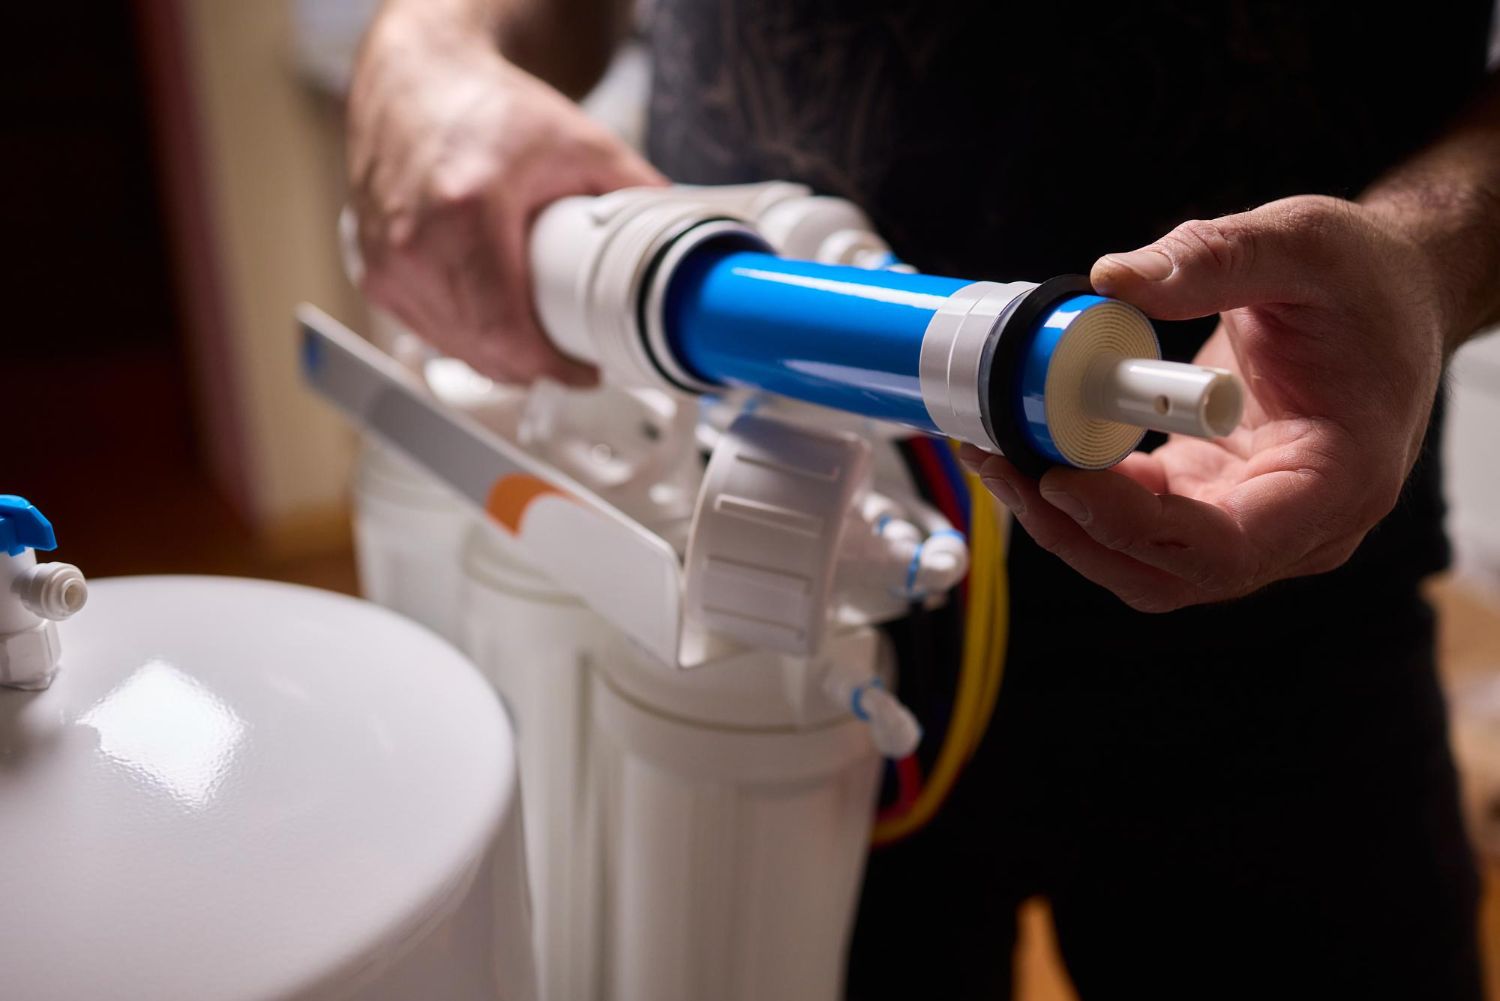
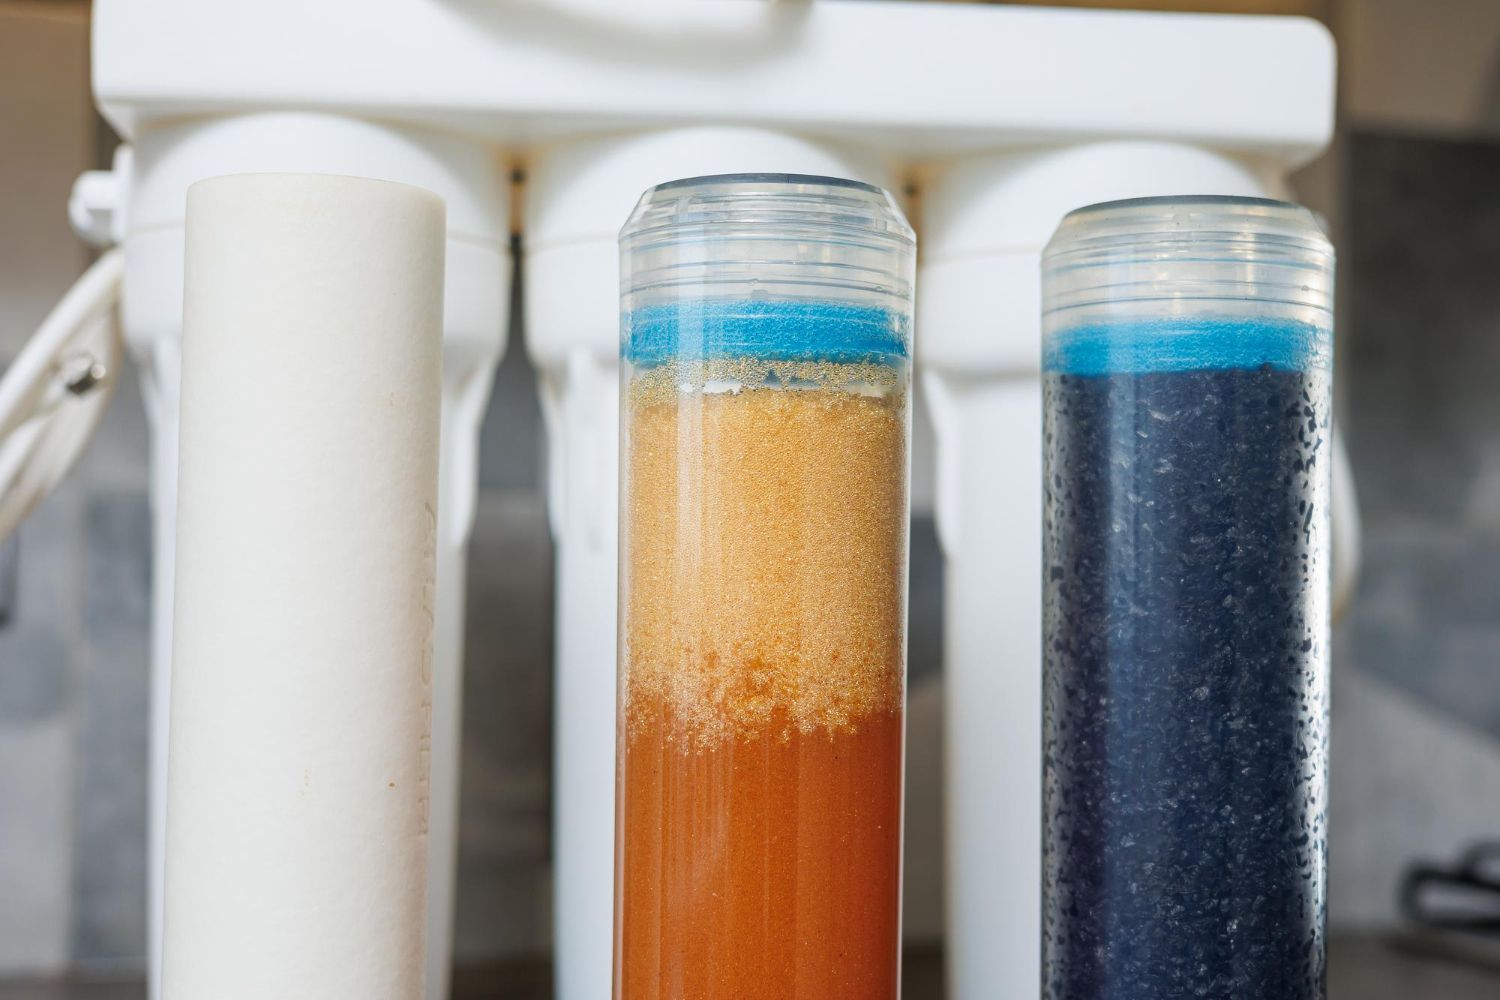
4. Install the filters
Match the cartridges to their correct spots using the labels or shapes on each. Many systems include a sediment filter, a carbon pre-filter, and a post-filter. Install them in the right order and double-check each one is fitted tightly.
5. Power the system
If your system uses a powered feature like a UV sterilizer or motorized pump, plug it in. Make sure the cord doesn’t get pinched behind anything. Once everything is connected, slowly turn on the water and listen carefully for leaks or drips.
With all those parts in place, your system should be ready to go. Even if you follow the directions exactly, keep an eye on the system over the next few hours as it settles in.
Post-Installation Checks and Maintenance Tips
Now that the system is wired and connected, it’s time to double-check how it’s working. These first checks help spot any loose parts or leaks that might show up after the pressure kicks in. Running a full test cycle helps ensure clean and safe water flows without issues.
Start by flushing the system. Most manufacturers suggest running water through all the filters for several minutes before using the water for drinking or cooking. This clears out carbon dust, packing residue, and any tiny bits that got shaken loose during delivery. You might notice cloudiness in the water at first—that’s normal and should clear up quickly.
Once it’s flushing, check every connection by hand. Use a dry rag or tissue to feel around the joints and fittings. Small leaks can take time to show up, so this part can’t be rushed. Tighten anything that feels loose but be careful not to over-tighten. Everything should feel secure.
To keep things running smoothly long-term, it’s a good idea to build a bit of maintenance into your routine. Filters wear out over time, and the system needs some light upkeep now and then.
A few simple tips to keep your system in good shape:
- Change filters based on the timeline in your manual, usually every few months
- Track maintenance with reminders or labels
- Wipe the outside of the unit every so often to prevent dust buildup
- Check flow rate and taste—changes could signal a clog or worn-out filter
- Listen for sounds like humming or gurgling that might mean something’s off
If anything feels off, like a sharp drop in pressure, strange noises, or leaks, it’s time to have a professional look at it. Plumbing issues can go from small to serious pretty fast, and it’s harder to fix problems once they get inside flooring or walls.
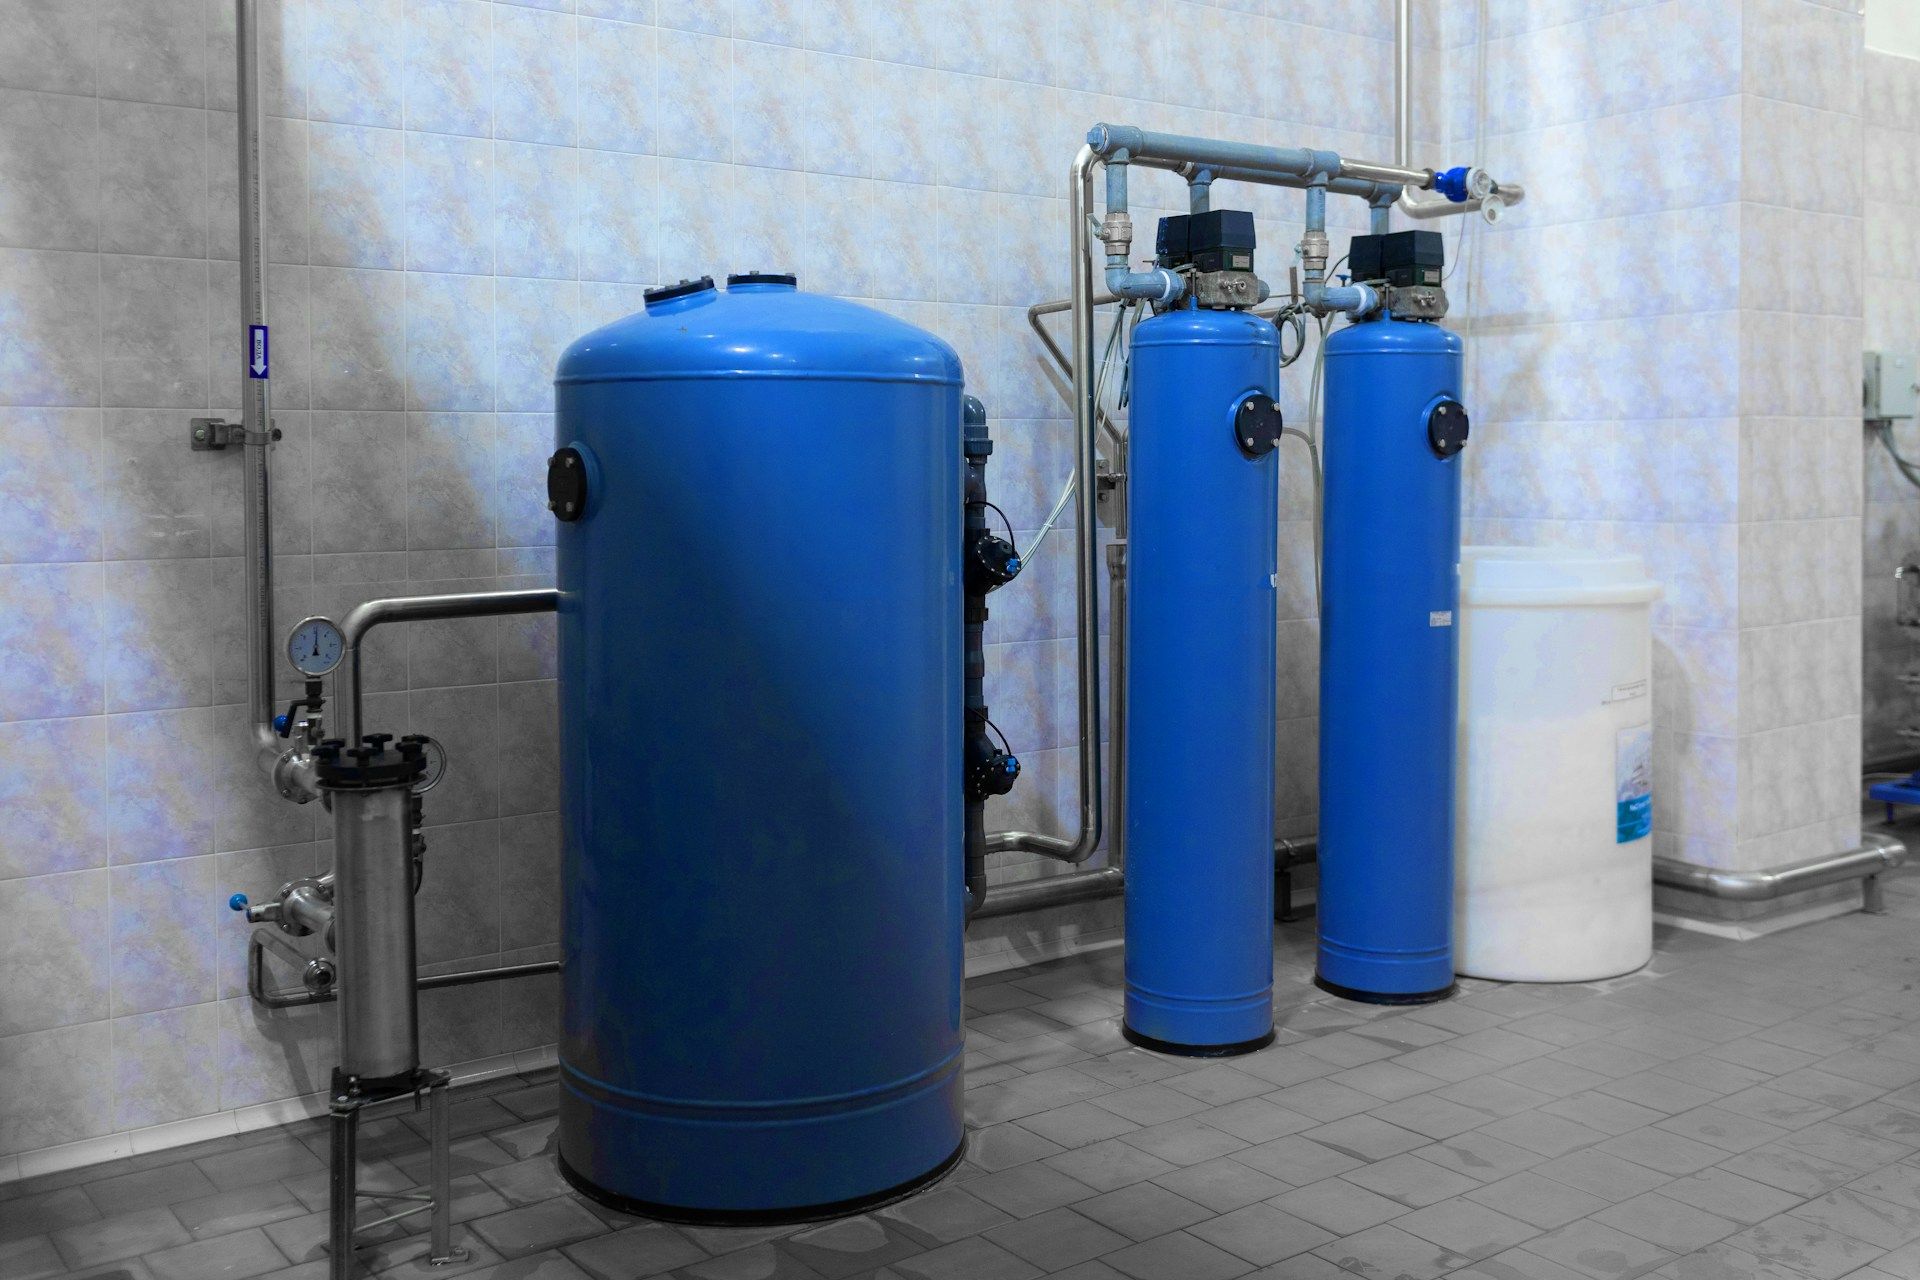
Benefits of Professional Installation Services
For some people, installing a purification system sounds like a project worth doing on their own. And while that might work out, not every home is built the same. Older plumbing, awkward access points, or unexplained low pressure can make things trickier than they seem.
Professional installation removes that risk. A trained tech doesn't just connect hoses— they evaluate your plumbing, check your water pressure, and spot issues before they turn into expensive repairs. That kind of experience is hard to match on your own, especially in areas like Park City where water conditions from season to season might shift just enough to affect how your system runs.
A real example: one homeowner tried a DIY install and missed a small leak under their sink. Over a few days, that drip built up enough to warp their wood cabinet and damage the floor underneath. They ended up needing new flooring, mold treatment, and a new bracket system to remount the unit. All of that could have been avoided with one expert visit.
A professional will also install the unit based on what your home really needs. Park City homes can have different mineral levels depending on where they’re located, and a local pro knows what types of filters will hold up best over time. That helps protect your system and makes filter changes more predictable.
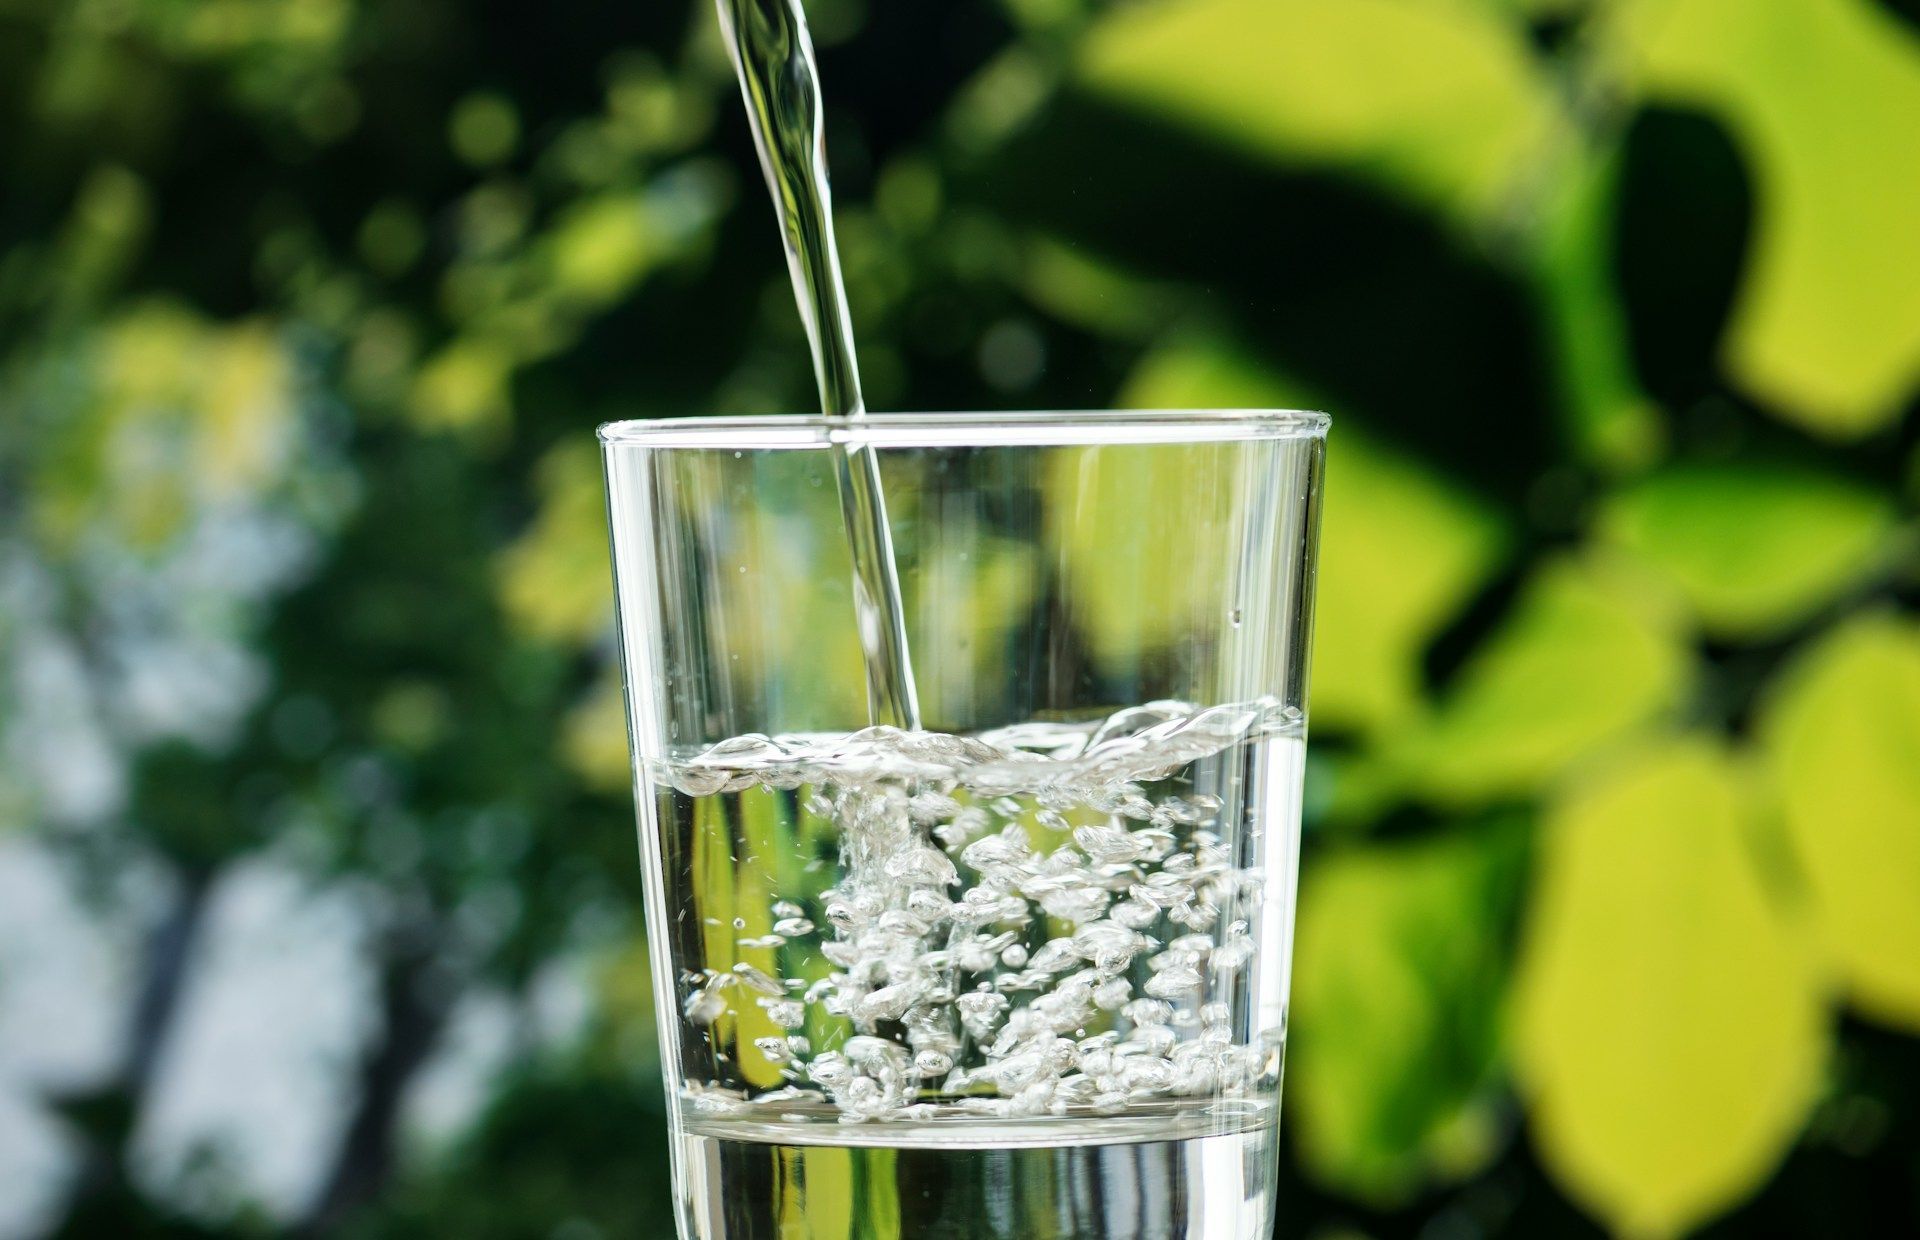
Ensuring Pure and Fresh Water in Your Home
Once your system is in place, there’s a good chance you’ll notice the difference right away. Purified water often tastes cleaner and feels smoother when washing hands or rinsing dishes. You might even pick up on little changes, like fewer water spots on glassware or better-tasting coffee.
Keeping the system running strong doesn’t have to take much effort. As long as you follow the timelines for filter replacement and do a quick look-over now and then, it’ll keep delivering clean water without any major surprises. And knowing that your drinking water is being filtered thoroughly right at the point of use brings a certain peace of mind that’s hard to beat.
If you’re still deciding between a DIY setup or hiring someone to do the job, remember that getting it right the first time may save you stress and money later. A small mistake during installation can turn into a bigger repair before you know it. Clean water is worth investing in—both for your home and for the people living in it.
To ensure your water purification system installation is seamless and effective, trust Water Science to deliver the expertise and care needed. Explore how tailored solutions can fit flawlessly into your Park City home for optimal performance and lasting peace of mind. Learn more about enhancing your home's water quality through our water purification system installation services.